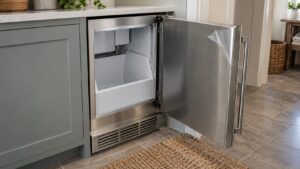
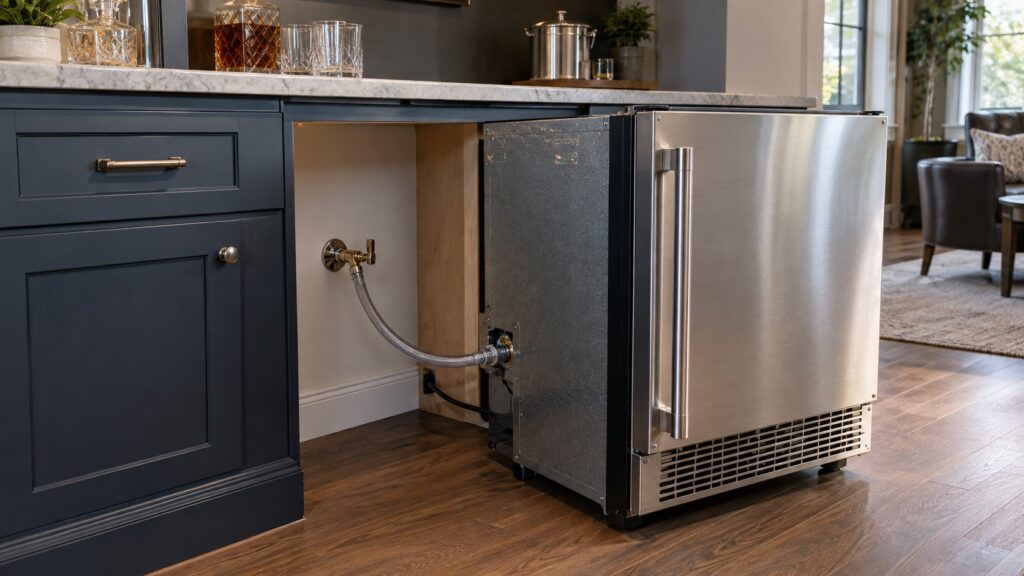
U-Line ice machine water line installation comes down to four things: a cold-water supply of the right size and pressure, a shutoff valve you can reach, a filter suited to your water, and a clean, kink-free connection to the fill valve on the back of the machine. Get those right before the machine slides into place, because the water line is hard to reach once the unit is in its opening.
What does the water supply for a U-Line ice machine need?
Every U-Line ice maker, whether it makes clear, crescent or nugget ice, fills its water reservoir through an inlet valve on the back, and that valve needs steady cold water at a pressure inside the range given in the installation sheet. Too little pressure and the machine fills slowly or stops with a water error; too much and the valve or the fittings can be stressed. If you are unsure about your pressure, a simple gauge on an outdoor spigot or a laundry connection tells you what you have. Use a cold supply only. Hot water makes cloudy, poor-tasting ice and can damage the valve.
The model list for the site shows how many machines are in the family, including the clear ice machines, the crescent machines and the combination ice makers. They share the same basic water arrangement, though some models have additional connections. Read the sheet for your exact number before you buy fittings. If you want to understand why the water quality matters so much for clear ice in particular, our guide to how U-Line clear ice technology works explains.
Where should the shutoff valve go?
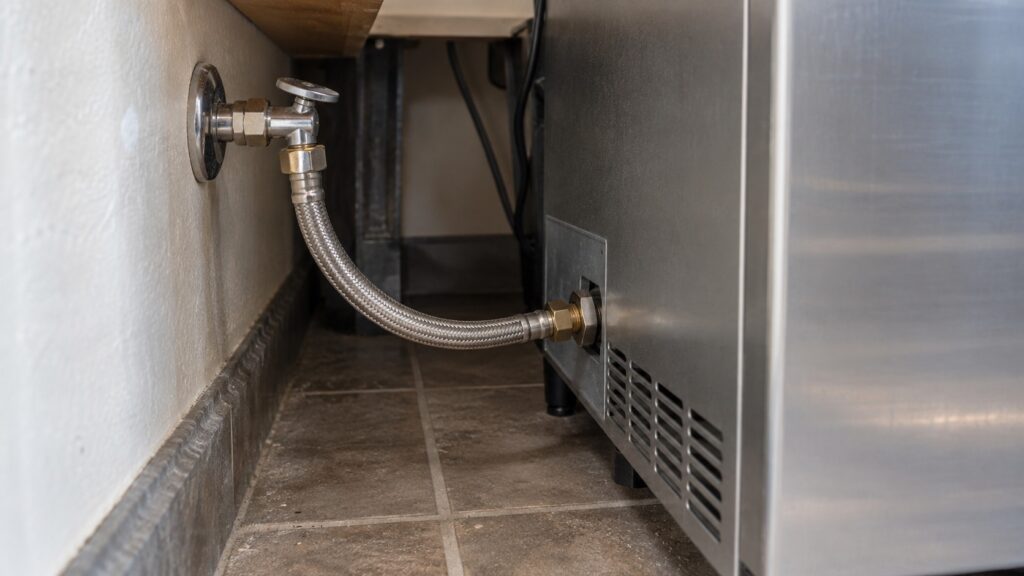
Install a shutoff valve on the supply line where you can reach it without moving the machine. A valve hidden behind the machine is a trap: when the hose leaks or the machine needs service, you have to pull the unit out to turn the water off. A valve inside an adjacent cabinet, under the sink or on the wall next to the opening is far better. A quarter-turn valve is easy to operate and easy to see in the on or off position. Label it so anyone in the household knows which line it controls.
How do you connect the line to the machine?
- Turn off the water at the source and open a tap to relieve pressure.
- Flush the line for a minute into a bucket to clear debris before you connect the machine.
- Connect the supply tubing to the inlet fitting on the back of the machine. Hand-tighten and then give a small turn with a wrench so you do not crack the plastic.
- Route the tubing so that it does not kink, touch hot surfaces or get pinched between the machine and the wall.
- Turn the water on slowly and check every joint for drips, then watch for ten minutes.
Leave a loop of slack in the tubing, so you can pull the machine forward a few inches for service without disconnecting it. A tight, straight line may look neat, but it puts strain on the fitting every time someone moves the machine. Plan the drain at the same time, using our gravity vs pump drain setup guide, since the drain location and the supply location often compete for the same space.
Do you need a water filter?
An inline filter is a good idea on most supplies. It reduces chlorine taste and sediment, and it can slow scale buildup. Hard water leaves mineral deposits on the evaporator and the inlet screen, and the result is slow ice production, odd shapes and a machine that needs descaling sooner. A filter does not replace cleaning, but it extends the time between cleanings. Choose a filter designed for ice machines and follow the replacement interval the maker gives. Our ice maker maintenance guide shows how filters fit into the routine.
What problems appear after a poor water installation?
The signs are familiar. A machine that makes few cubes, hollow cubes or no ice at all may be starved of water, and a machine that floods the floor may have a loose fitting or a failed valve. A shutoff valve that is partly closed is the most common cause of a water supply complaint, and the second is a kinked line. Our ice maker water supply problem guide and the page for a crescent ice machine whose water supply is turned off help you check. Outdoor installations add a freeze risk, so see the outdoor installation guide before you run a line outside.
When should you get a professional?
If you are not comfortable working on plumbing, ask a plumber to run the line and install the valve, and let the machine installer make the final connection. A professional can also check your pressure, advise on a filter and confirm the drain. If the machine is already installed and not producing ice, a technician can check the valve, the float and the pump. See our ice maker repair page for how a visit works.
How do you test the installation before you walk away?
Run the machine through its first fill and watch it. Listen for the inlet valve to open and close, look for water at each joint, and confirm that the reservoir fills to the proper level. Allow the first batch of ice to form and discard it, since the first cycles flush the system of dust and assembly residue. Check the drain by running water into the reservoir if the manual describes a test, and make sure it leaves the machine freely. A short test at the start catches the leak you would otherwise find on the floor the next morning.
Finally, write down the date, the filter type and the location of the shutoff valve. Stick the note inside the cabinet next to the machine. When the filter needs replacing or a service call comes, the information will be right where you need it.