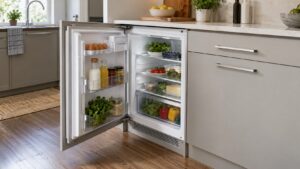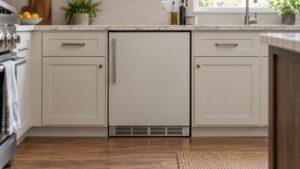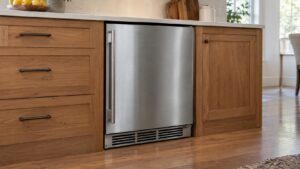
Installing a U-Line undercounter refrigerator correctly matters more than it might seem, because these units are designed to sit flush within cabinetry rather than stand freely in a room. Getting the clearances, ventilation, and leveling right at the outset prevents a range of problems down the line, from inefficient cooling to premature wear on the compressor and door hardware.
Understanding the Installing A Built-In U-Line Undercounter
Below, our specialists break down everything you need to know about the Installing A Built-In U-Line Undercounter.
Clearance requirements
U-Line undercounter refrigerators are generally built as front-venting units, which is what allows them to sit flush against the back and sides of a cabinet opening in the first place. Even so, the specific clearance dimensions — the width, depth, and height of the cabinet cutout — vary by model, so the installation instructions that come with your specific unit are the definitive source rather than assumptions carried over from a different appliance. Leaving the cabinet opening even slightly undersized can prevent the door from opening to its full range or cause the cabinet to bind against the surrounding woodwork; an oversized opening can leave unwanted gaps that affect the flush appearance the built-in design is meant to achieve.
Ventilation
Because front-venting units draw in air and exhaust heat through the front grille rather than the sides or back, the front-facing area around the grille needs to remain unobstructed for the unit to cool properly. Cabinetry trim, toe kicks, or decorative panels installed too close to the grille can restrict this airflow even if the overall cutout dimensions are correct. It’s worth double-checking the manufacturer’s minimum airflow clearance around the grille specifically, separate from the general cabinet cutout size, since these are sometimes treated as two different specifications in the installation manual.
Electrical and water connections
Confirm the outlet location and electrical requirements match what’s specified for your model before the cabinetry is finalized, since running new electrical after the cabinet is built is far more disruptive than planning for it upfront. If your unit includes an ice maker or water-dispensing feature, the water line connection point and shutoff valve access should also be planned during the same phase, ideally somewhere that remains reachable after the unit is installed for future filter changes or service.
Leveling and the flush fit
Once the unit is in place, leveling it correctly — front to back and side to side — is essential both for proper door operation and for internal drainage systems that rely on gravity to function correctly. Most undercounter units have adjustable leveling legs or feet accessible from the front base grille or interior, allowing fine adjustment without pulling the unit back out of the cabinet opening. A level unit also helps the door hang correctly against the gasket, supporting a tighter seal from day one. Take time to confirm the door swings and closes without rubbing against adjacent cabinetry, and that any handle or trim kit sits flush with the surrounding panels if your installation uses a custom panel-ready door.
Because undercounter installations are largely a one-time setup, it’s worth taking the extra time to follow the model-specific clearance and ventilation specifications closely rather than estimating from general appliance experience. A correctly installed unit runs more efficiently, seals better, and is easier to service down the line — and if you’re not confident about cabinetry modifications, electrical work, or water line installation, it’s reasonable to bring in a professional installer or technician for that part of the job.
Getting your U-Line refrigerator fixed for good
Working through the points above resolves many cases on a refrigerator. If the problem behind “Installing a Built-In U-Line Undercounter Refrigerator: Clearances and Ventilation” persists after you have tried the safe checks here, an experienced U-Line technician can pinpoint the exact cause and complete the repair with genuine parts. Sealed-system, thermistor, and control-board work should always be left to a qualified refrigeration technician. Our specialists focus on U-Line refrigerators specifically, so diagnosis is faster and repeat visits are rarer.
For help with “Installing a Built-In U-Line Undercounter Refrigerator: Clearances and Ventilation,” our U-Line specialists are ready. Every repair is quoted from the actual problem, not a flat guess, and covered by a labor guarantee. You can book online any time, check the error-code library, or explore our U-Line repair services.
U-Line refrigerators are built and documented by the manufacturer in Milwaukee. You can confirm model details and manuals on the manufacturer’s site, u-line.com.